
[December 2024: Epson is offering $200 rebates on both the P700 and P900 through the end of the month. See Epson rebates on P700 and P900, Legacy media for links and more.]
[February 2023: This review has been updated, with a new conclusion, based on testing a group of newer SureColor P700 and P900 models. You can find out specifics on why here.]
Epson bills their SureColor P700 and P900 printers as models that can create “exhibition quality” photographic prints, and that is most certainly true: the quality of the prints that they can produce is second to none in the sub-$1500 market. Replacing two five-year-old models, the SureColor P600 and P800 respectively, the new printers have some important enhancements, including a new inkset that expands the printers’ gamut; enhanced blacks when printing on glossy and other photo papers; and the removal of the decades-old reliance of using a single black-ink channel to switch between photo and fine art media. The new printers are also small and light, which should make photographers with tight workspaces happy. All in all, the P700/P900 represent the pinnacle of desktop-based photo printing that is available today.
SureColor P700 and P900 specifications
| SureColor P700 | SureColor P900 | ||
|---|---|---|---|
| Type | Pigment-based inkjet | ||
| Price | $799 | $1,295 | |
| Ink set | 10 UltraChrome PRO10 inks (9 printing) | ||
| Ink colors | Cyan, Magenta, Yellow, Photo Black, Matte Black, Light Cyan, Light Magenta, Gray, Light Gray, Violet | ||
| Ink cartridge costs | $37.99 (25ml) | $41.99 (50ml) | |
| Ink cost per ml | $1.52 | $0.84 | |
| Maximum resolution | 5760 by 1440 dpi | ||
| Minimum paper size | 3.5" x 5" | ||
| Maximum paper size (cut sheet) | 13" x 19" | 17" x 25" (A2+) | |
| Maximum printable area | 13" x 129" | 17" x 129" | |
| Roll paper support | Included roll-feed adapter supports 13-inch rolls with 2-inch core | Optional roll-feed adapter ($249) supports 17-inch rolls with 2- and 3-inch cores | |
| Straight path | Yes; media up to 1.5mm thick | ||
| Interfaces | USB 3.0; 100Base-T Ethernet; 2.4 GHz (802.11n) and 5 GHz Wireless (IEEE802.11 b/g/n/ac) | ||
| Operating systems supported | macOS 10.6.8 or later; Windows 7 and later | ||
| Weight | 27.8 pounds | 35.3 pounds | |
| Dimensions when printing (W, D, H) | 20.3" x 30.3" x 16.5" | 24.2" x 35.6" x 20.5" | |
| Dimensions when closed (W, D, H) | 20.3" x 14.5" x 7.3" | 24.2" x 14.5" x 7.8” | |
Basics and setup
The SureColor P700 and P900 are essentially two versions, small and large, of the same printer: they share the same printhead, print engine and inkset, and offer identical paper feed and driver options. Their differences come down to price, print width, and ink cartridge capacity. The P700 ($799) has a maximum print width of 13 inches and uses 25ml cartridges, while the P900 ($1,295) can print up to 17 inches wide, and has 50ml carts.
Setting up the printer is straightforward: the box includes a quick start guide, a power cable, starter set of inks, a tray for printing on CDs and DVDs, and an extra maintenance box (one of these is preinstalled in the printer, and is used for ink waste during cleanings and overspray when creating borderless prints). The P900 supports a direct USB connection, as well as Ethernet and WiFi network connections, and we found each option to be easy to set up and use.
Epson walks you through the process of installing the inks; downloading and installing the print driver and additional software; and connecting the printer to your Mac or Windows computer. This whole process is simple and direct, and you can generally be up and printing within hour.
A note of caution for Mac users: although you might be asked to ‘update’ your printer at some point to AirPrint, you should not do so. Updating it in this way simplifies the print driver, removing some of the features that you’d want to keep when printing photos.

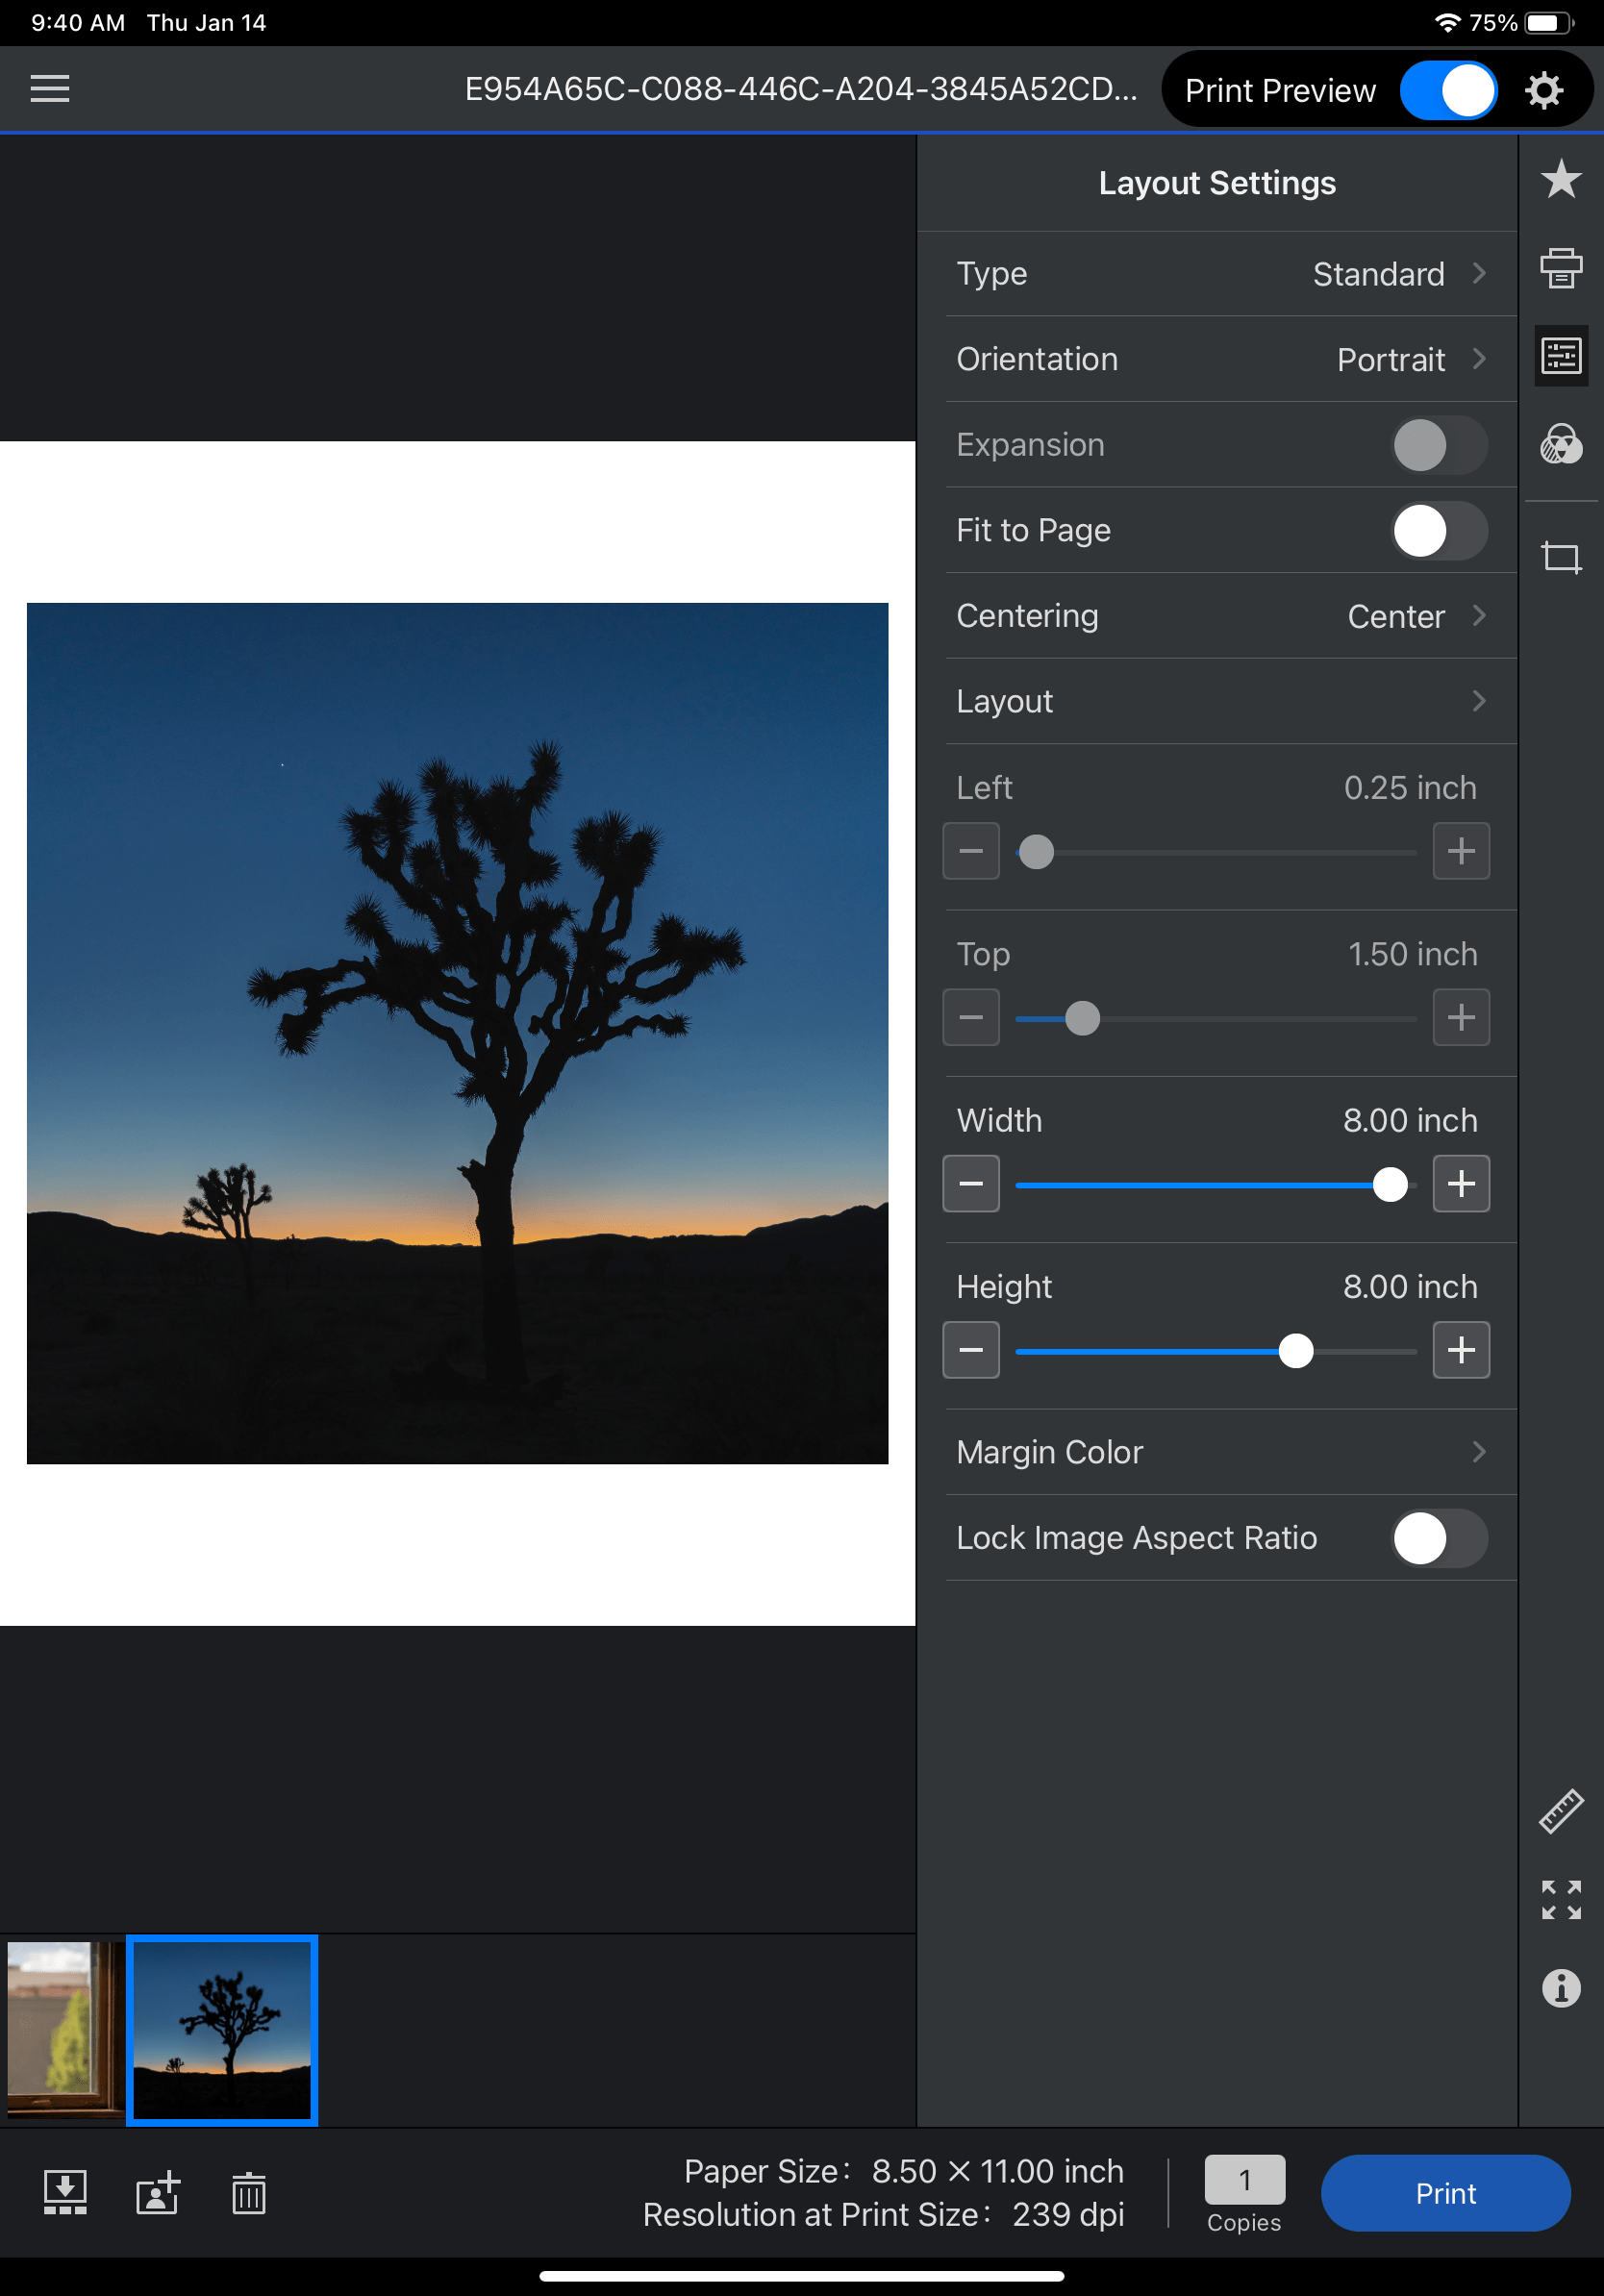
The P900 has a large, easy-to-read, 4.3-inch LCD touchscreen panel on the top of the printer. It flips up at an angle for easy viewing, but can be recessed when the printer is closed up for storage. Many of the printer’s options can be set directly from the touchscreen, including networking and media support, and you can download and install any available firmware updates directly from the screen. We found the size of the touchscreen to be a significant improvement over the smaller screen on the previous generation, and quite useful in day-to-day operations.
We were more impressed than we thought we would be about the size of the new printer, especially when compared with the bulkier P800 — the P900, it turns out, is approximately the size of the older, 13-inch P600. When the media trays are closed, the P900 is compact, and doesn’t feel like it takes over a small room with its size. You’ll still need some space around it when printing on larger papers, but, given the number of prospective buyers we’ve spoken to who are excited about the smaller size of the P700/P900, this is definitely a primary selling point for the printers.
Managing print media
When you finish installing the print driver, Epson launches an app called Epson Media Installer, which is designed to ‘sync’ the printer’s paper types between the printer and your computer. We found the app a bit confusing at first: there’s no mention of it in the documentation or the quick start guide in the box, and the interface is nonintuitive. It’s also quite slow.

After some back and forth with Epson, we got a clearer perspective on the app. On that initial launch, it’s designed to make sure that Epson’s current paper offerings are synced to the print driver, but the app also lets you add custom papers (and their associated ICC profiles) to the print driver. This last item is hugely important for photographers who regularly use third-party papers, and who would have to remember which of Epson’s media offerings corresponded to the paper being used.
Without any documentation, you’re left to play around with the app. After we spent some time with it, we figured out that what you need to do is duplicate an existing media type, click an ‘editing’ icon in the top toolbar, make the changes, and then sync your new media type to the printer. This process is made more painful by the slowness of the app, which spends a lot of time ‘processing’ every time you make a change. Being able to add multiple papers and make other changes offline, and then syncing all of them to the the printer and the driver in one operation would be a welcome start here.
As an example, via the Media Installer, you can now add a custom paper like Red River Paper’s Palo Duo Smooth Rag, associate the correct ICC profile to the setting, and set any advanced media control options (media thickness, platen gap, drying time, etc.) that the paper requires for proper printing. Once synced, this information shows up in the driver and on the printer, so that you can specify custom media types directly from the printer’s LCD.

Despite our concerns about both the lack of documentation and the slow performance, the Media Installer really is a good step towards managing media, especially for people new to the vagaries of photo printing. And, since our initial review, Epson has added series of support videos to their YouTube channel about the Media Installer; you can find links to the specific videos at the end of this review.
UltraChrome PRO10 inks
One change from the previous SureColor desktop printers is the new UltraChrome PRO10 inkset, which Epson says provides a 6 percent increase in color gamut over the P600 and P800 series. A large part of the gamut increase is due to the addition of the tenth ink color, Violet, which helps to improve blues and purples in a prints.
The Light Black and Light Light Black inks from the previous generation have also been replaced with Gray and Light Gray in the PRO10 inks, but this appears as much to be a name change as an ink formulation change, largely related to the ‘gloss optimization’ feature (which we’ll talk about in the driver section below).
The P900 has 10 ink cartridges, of which nine are printing at any time: depending upon the paper type chosen, the P900 will automatically use either Photo Black or Matte Black ink. Unlike Epson’s previous pigment-based desktop printers, there are now dedicated lines for the Photo and Matte Black inks, which means that you can go back and forth between the media types—glossy/semigloss and matte/fine art—without losing time, or, more importantly, ink. (With the older P800, the ink switching used 4.6ml when switching to Photo Black, or 1.6ml when switching to Matte Black, so these weren’t trivial amounts if you wanted to print on both media types with any frequency.)
As is the case with Epson’s previous inksets, print longevity should be ideal. While Willhelm Imaging Research’s print permanence testing on the PRO10 inkset hasn’t yet been completed, preliminary results from them indicate print life of up to 200 years on many paper types, and even longer for black-and-white prints. Of course, these numbers depend upon storage and display conditions, but they certainly keep Epson’s excellent reputation at the forefront of the gallery/commercial market.
Driver expansion
For years, Epson’s desktop pigment printers have generally offered three options for printing photographs: a standard and a photo mode, both of which printed at 1440 dpi, and a high/max quality mode, which printed at 2880 dpi. With the P900, Epson has expanded the print driver options considerably, primarily for photographers who like to print on glossy paper.
The highest quality options now print at 5760 dpi, while the basic photo quality option remains 1440 dpi. When printing on glossy papers, there are new options for improving the black ink density and contrast (called Black Enhance Overcoat) and for adding gloss optimization, via Light Gray ink. This culminates with what Epson calls Carbon Black mode, which prints at 5760 dpi, and includes both the enhanced black and the gloss optimization. With Carbon Black, Epson says that you should see up to an 11 percent increase in Dmax (the maximum black ink density), and almost no bronzing or gloss differential, when printing on glossy media.

Carbon Black mode is really optimized for glossy papers; you can use it on luster papers, but it was hard to see any real quality improvement there. Given the extra time and ink consumed by Carbon Black, we wouldn’t recommending using it on anything but glossy media, and we’d really encourage playing around with the different options—at smaller print sizes, or with test strips—to determine whether the increases are seen in your own work.
Regarding gloss optimization (called Gloss Smoothing in the driver), this is another setting that you should experiment with. Gloss differential is the visible difference between areas in a print that have no pigments applied (i.e. pure white) and the rest of the printed image. Depending upon the amount of pure white in areas of an image, the difference can be quite visible (and ugly). In these cases, the P900 will use Light Gray ink to ‘coat’ those areas, giving the appearance of a continuous application of ink on the paper. Because gloss differential is a phenomenon specific to glossy papers, the gloss setting is not available with luster or matte-finish papers.
Our recommendation for the Gloss Smoothing option would be to leave it off when printing on glossy paper, and use it when necessary.
With all of new driver options for photo papers, printing on fine art or matte-based papers is much less confusing, and quite similar to that of the previous generation. You have two options for printing on fine art media, Standard (1440 dpi) or Max Quality (5760 dpi), with an additional option, Speed (1440 dpi), available when printing on Epson’s Presentation Matte papers, which are often used for proofing or signage applications.
Paper handling
The P900 has two media input trays. The primary one is a rear paper feed that can handle media up to 0.5mm in thickness, and, reportedly, up to 30 sheets of media, depending upon the type. A front-loading, straight-through media tray is also available, and is designed to take media as thick as 1.5mm.
With the P900, Epson removed the problematic rear fine art media tray found in previous generations, which was designed to feed single sheets of thicker papers (but not as thick as the front feed). This has been changed with the new printers: photographers are now able to use the main rear feed tray to print single sheets of thicker fine art media. Sadly, Epson didn’t update the documentation for the new printers to let people know about this: the online manual currently says that many of Epson’s fine art papers need to be loaded via the front media tray.
Update (February 2023): When we tested our original P900 printers in 2021, we had ongoing problems with feeding paper in the rear mechanism—it was almost impossible to load more than a single sheet into the feeder, which was frustrating, especially when we wanted to print a group of 5×7 or letter-size photos. In late 2022, we evaluated three newly purchased P700 and P900 models, and had no paper handling issues with the rear-feed mechanism. With thicker paper types (like Epson’s Legacy Fibre, Exhibition Fiber, and many baryta papers), you’ll need to load a single sheet at a time, but these printers will handle them without issue.
Front tray feed
The front fine art tray isn’t much better than the older P600/P800 models, but it does work, albeit with caveats. With the new models, Epson went from a side-feed mechanism to a center feed for all papers, in both trays. To achieve this with the front tray, the P900 uses sliding, plastic guides for loading thick papers, but the guides are short (less than 3 inches long), flimsy, and have some side-to-side and up-and-down movement to them, which can cause some alignment problems when loading thick media.
If your experience is anything like ours, what this means is that you’ll get a lot of paper feed errors when you load paper into the front feed, requiring a lengthy re-loading (and sometimes re-re-loading) of the paper. Or, you can uncheck the oddly named ‘Detect Paper Meandering’ option via the printer’s LCD, which turns off the skew-check feature inside the printer. When we did that, most of the paper-loading errors went away, but it was a toss-up as to whether we would get a skewed print or not. Most of the time, if we had a skewed print, it was slight, and didn’t mar the print; other times is was noticeable enough to require trimming the print, or redoing it, if the trimming reduced the margins required to mount a framed print.
In our estimation, the slight paper guides just aren’t sturdy enough, or long enough, to get properly aligned prints consistently. With the previous models, you at least had one solid guide—the right side of the input tray—to align your print, and a line across the bottom of the tray to align the short edge.
The front fine art feeder issues are mitigated by the fact that you can now load many fine art papers via the rear tray, but as we noted, this feature is undocumented. If you’re reading the manual, you’ll think that this is the only way to use many fine-art papers
Print quality
Simply said, the quality of the prints generated by the P900 is excellent. The PRO10 inks’ wide color gamut, the printhead’s variable droplet size, and quality of Epson’s screening algorithms all combine to create absolutely stunning prints on all media types. The changes in gamut and print quality from the previous generation are slight, in our view, but the bottom line is that you’ll get great prints on almost all media types.
Blacks especially, when printed on glossy and luster media, are rich and deep, even without using the Carbon Black mode. And, when Carbon Black was used, it added oomph to the blacks in many of our photos printed on glossy media. When looking at photos printed with and without Carbon Black, most viewers picked the Carbon Black photos as ‘best.’
With luster papers, we didn’t see any substantive increase in print quality when using Carbon Black, but we did note increases in contrast and black density when the Black Enhance Overcoat option was on. Again, it was noticeable in some prints, not so much in others, but since the option is on by default in most photo paper settings, we would probably leave it that way. (There were a few times where we felt that the Black Enhance option added a bit too much contrast, and turning it off gave us a more realistic print, so it’s worth experimenting with for your own work.)
When printing on matte-finish fine art papers, the P900’s expanded print gamut was evident, again largely in the blues and purples. Given the absorption characteristics of these papers, blacks will always be flatter, and have lower Dmax numbers, than you’ll see when printing on glossy and semigloss papers. This is often beside the point for many photographers, as well as artists who wish to print reproductions of their work. It really depends on the look you wish to achieve.
When asking viewers to compare fine-art prints from the P900 and the P800, the results were more mixed than when they were looking at glossy prints. Some chose prints from the older printer as better, others chose the P900, but it was generally harder for most to pick an actual favorite. This is as much a testament to Epson’s legacy in the pigment printer market as it is personal taste.
If you’re coming from an older photo printer, the differences in print quality (on both matte and photo papers) should be more noticeable to you. For example, when comparing stored prints made on a Stylus Pro 3880—from 2009—viewers chose the P900 prints as better than the 3880 ones. Comparing prints made on a wide-format Stylus Pro 9900 (from 2015), however, was tougher, which we would expect, given that printer’s 11-color inkset and professional profile.
If you’re contemplating a move from a more recent printer, it will be harder to quantify the increase in quality with most photos. We did find a few photos where the new inks provided slightly better color rendition, but this is mostly nit-picking, in our estimation. Where we found demonstrable improvements were in a few problematic blue-hour shots we had taken years ago that we had been unable to print properly. We reprocessed those photos in the most recent version of Adobe Camera Raw and printed them on the P900, and we were able to get acceptable prints.
For photographers who shoot black and white, Epson’s Advanced B&W Photo mode remains an ideal way to get perfect, neutrally toned prints, and, when printing on glossy papers, you can still use the black enhancement, gloss smoothing and Carbon Black options.
Print speeds
Print speed might be an interesting spec to talk about when deciding which photo printer to purchase, but it will always take a back seat to print quality. While we didn’t perform rigid benchmarking tests on our P900, we did enough testing to give you a sense of the performance you’ll see when printing on a range of different paper types, at various print sizes.
For a printer like the P900, print speed (and ink usage) will be dependent upon the print options and the quality level chosen. When printing on glossy or luster paper, for example, there are five different printing levels: Standard, Quality, High Quality, Max Quality, and Max Quality (Carbon Black). The first three levels print at 1440 dpi, while the Max Quality levels print at 5760 dpi. Fine art/matte paper is less complicated, with the two resolution-based quality settings, and no real actionable options, Standard (1440 dpi)—and which is actually closer to the Quality option in the glossy settings—and Max Quality (5760 dpi).
The following chart shows the average print times (in minutes:seconds) for glossy media in four print sizes, at each of the quality levels. (When printing on luster/semigloss papers, you should see comparable times to the High Quality and Max Quality settings.)
P900 Print Performance — Glossy media (Photo Black inks)
| 4x6 | 8x10 | 11x14 | 16x20 | |
|---|---|---|---|---|
| Standard | 0:48 | 1:36 | 2:28 | 4:46 |
| Quality | 1:12 | 2:33 | 5:16 | 7:57 |
| High Quality | 1:27 | 3:04 | 6:21 | 10:02 |
| Max Quality | 4:40 | 8:16 | 11:57 | 18:49 |
| Max Quality (Carbon Black) | 7:10 | 12:46 | 18:32 | 28:45 |
As you can see, there’s a significant speed penalty for printing at the higher Max Quality and Carbon Black modes, and we haven’t printed with the P900 long enough to know the impact of these modes on ink usage. Whether you’ll notice the difference in print quality is questionable, and is dependent upon the print and its intended destination—for sale, for a friend, for your wall, or for your portfolio. If you’re printing editions for sale, it might be worth it to print at the highest absolute level, even if the differences are negligible; for other, more personal uses, the lower-quality modes might be more than acceptable.
P900 Print Performance — Fine art media (Matte Black inks)
| 4x6 | 8x10 | 11x14 | 16x20 | |
|---|---|---|---|---|
| Standard | 1:07 | 2:16 | 3:28 | 6:40 |
| Max Quality | 1:46 | 3:40 | 5:53 | 11:18 |
The print speed numbers for Matte Black-based papers are much simpler, given the two quality modes. Our recommendations for which quality level to use are similar to those for glossy papers: it will depend upon the photo, and the intended designation for the print.
Ink usage
There are some interesting things to say — and some things that can’t be answered quite yet — about ink usage and the new printers. The short answer is that your mileage will vary, depending upon a group of factors.
To start off, there is one big ink-related difference between the P700 and the P900: cartridge size. The P700’s cartridges have 25ml of ink, while its larger sibling’s cartridges are twice that, at 50ml. What makes this complicated is that there is currently only a $4 difference in the cartridge pricing. In practical terms, the cost per ml is quite drastic, with the P700, at $1.52/ml, slightly less than twice the $0.84/ml cost of the P900 cartridges. This isn’t new—the P600/P800 ink costs were $1.37/ml and $0.72/ml, respectively—but it does make the P700 less efficient in terms of ink use over time, especially if you print a lot.
Epson includes a set of ‘starter’ cartridges with the P900. We’ve seen online reports that these initial carts have ‘half’ the ink and ‘only enough to fill the lines,’ and that they’ll only last for a ‘couple of prints before you have to replace them all.’ Our testing, with both models from the previous generation, and with our P900s, doesn’t support this bleak picture, however. Yes, the ink lines need to be filled with inks, which takes up a considerable amount of ink, but you will be printing with that. And, when we weighed the starter cartridges from both our P900s, they were within a few grams of the replacement carts we purchased online. Prying open empty cartridges, we didn’t see added weight, or significant amounts of unused ink hidden within them.
With all of the P900s we tested, we got well over 100 prints of varying sizes—from 4×6 up to 16×20—before we ran out of any ink, and even then, it was a single color. After that, we ran out of Matte Black ink, largely because we were working on a set of large prints for sale that used fine art paper. By the time we had approached 180 prints, we had to replace the Photo Black and Gray inks. The P700 models, with their smaller ink cartridges, lasted only about 80 prints before we had to start changing inks.
In the long run, ink usage will ultimately depend upon the type of prints done, the print size, and the varying driver options. You’ll use more ink when printing in Carbon Black mode—or when printing at 5760 dpi in general—than you will at 1440 dpi. This makes the whole “how much does it cost to print” equation even more difficult to parse.
It is useful, trying to come up with some starting point for a metric that helps photographers understand the costs of printing. When the printer market was more vibrant, we did comprehensive ink usage testing at Printerville, and our friends at Red River Paper continue to perform their own testing. Their cost-per-print testing for the P900 showed quite good results: 17 cents per print for 4×6 photos, up to $1.74 for a 13×19 print. Those numbers are solely for the ink, not the media, and were printed using Epson’s High Quality (1440) print mode, with the Black Enhance option on.
Based on our own long-term usage with multiple printers, the P900’s ink efficiency does display significantly better cost benefit over the P700 This isn’t surprising, given that the P900 carts cost 45% less per ml than those of the P700, and Red River’s ink-cost numbers for the P700 bear that out: per-print costs range from 39 cents for a 4×6 print (using Photo Black) to $4 for a 13×19 print, more than twice that of P900.
Red River’s numbers are a good general guide, but everyone’s results will be slightly different, depending upon the type of printing you do. For us, it will take a good year of printing or so to get a sense of the real cost of printing with the P900, and that’s ok. We’d expect the P900 to be slightly higher per page than it was with the P800, but still on the acceptable side, given the amount of printing we do (20-30 prints per month, on average). If we had to choose between the P900 and the P700, we would probably opt for the P900, given our printing requirements, even if we rarely printed at the full 17-inch width. With current street prices putting the differences between the two printers at around $400, it would only take a couple of years for someone to see enough ink savings to make it worthwhile.
Miscellaneous notes
In the interest of completeness, there are few other items of note about the P700/P900 printers:
- The printer has a fan, something we haven’t run into before in a printer of this class. (When we asked Epson representatives about it, they were unclear about its purpose.) It’s not distracting, and it tended to come on mostly with larger prints at high-dpi, so it could very well be related to print drying. It’s not outrageously loud or annoying, however.
- The P700 has a simple, integrated roll-feed mechanism that lets you use roll paper up to 13 inches in width (2-inch cores); it slides out the back of the printer. The P900 has a much bigger roll-feed adapter that is only available as an optional add-on (for $249), and which attaches to the rear of the printer. It will print on paper up to 17 inches wide, on both 2- and 3-inch roll cores. Neither the P700 or P900 include a cutter, however; you’ll have to trim the sheets manually.
- There are two updated apps included with the printer, Epson Print Layout, and Epson Photo+. Print Layout is a standalone app and Photoshop plugin for printing photos, and it is reasonably capable, even to the point of offering gallery wrap options for canvas. Photo+ is a project-oriented app, aimed more at consumers looking to create scrapbook layouts, custom photo layouts and more. It also has a disc label project, which might be helpful for people wanting to use the P900’s disc-printing tray. (Our print workflow is Lightroom and Photoshop-specific, so, while we did do some basic printing with these apps, we can’t say much more than that the work as advertised.)
- New with the P900 is an iOS version of Epson Print Layout, which lets you print directly to the printer from an iPad or iPhone. It’s surprisingly well-constructed, with a good feature set, and it offers a color-managed workflow, supporting all of Epson’s standard papers. It doesn’t yet support custom paper types and profiles, but we would expect to see that at some point.
Conclusions
When we first posted this review in 2021, we had worked for an extended time with two P900s, and the paper handling issues with those two units were frustrating, to say the least. We revisited the line in late 2022, purchasing and testing two P700s and one P900 from different pools. After six months of testing, which includes two four-day printing workshops where the printers got constant use, we can confidently say that Epson has fixed whatever paper-feed issues that plagued the early P700/P900 models. These printers truly are the best printers you can buy, for everything from snapshots to gallery-ready artwork.
In the end, three things make the SureColor P700 and P900 worthwhile: phenomenal print quality, dedicated channels for the Matte and Photo Black inks, and the fact that we can put single sheets of fine art and specialty media in the primary paper feed. Satisfied P600 or P800 owners really don’t need move up to the new models — unless you love to print on glossy papers and want the increased Dmax — but if you’re looking for a good pigment-based inkjet, and don’t want to go for a more expensive (and pro-oriented) option, the P900 especially is a good choice, given its bigger, more cost-effective ink cartridges and larger print-size capabilities. The P700, while cheaper in price than the P900 — and much smaller in size — does have higher ink costs, which can be an issue if you want to print a lot, but for modest usage, it can be a bargain.
[Review updated February 2023: New conclusions based on evaluation of three newer P900 and P700 models.]
Scorecard: Epson SureColor P700 and P900
SureColor P700, $799 [Product page | Amazon]
SureColor P900, $1,295 [Product page | Amazon]
Pros: UltraChrome PRO10 inkset produces best print quality of any printers in this class; Carbon Black option provides deep, deep blacks on glossy papers; no more matte/photo black switching; rear feed accepts most media types; can add custom paper types to the print driver; touchscreen is roomy, informative and useful.
Cons: Rear paper feed can be problematic, especially with stacks of paper, although firmware updates seem to have alleviated these issues somewhat; front feed guides are flimsy; documentation should be updated to include Media Installer app options and expanded media support options for rear feed; higher cost of P700’s ink cartridges mean less-efficient printing than its competitors (or the P900).
Other links:
- Canon imagePROGRAF PRO-300 review (Printerville)
- Epson Print Academy YouTube channel (includes many how-to videos, including videos about using the Media Installer app)
- Thoughts on choosing a photo printer (Printerville)
- Red River Paper: SureColor P700 review
- Red River’s True Cost of Inkjet Printing
Disclosure: We only review and recommend products that we use ourselves. The Amazon links above are affiliate links, and we may earn a small commission when you buy something, at no cost to you.
I currently have a Canon Pro 100 that has worked flawlessly for some three years now. I want to print larger sizes than 13×19, so I’ve been trying to decide on a Canon Pro 1000 or an Epson P 900. I run a small print sales business featuring my landscape pics. Based on credible reviews, both printers deliver excellent quality prints; so I look at problems mentioned in reviews. Canon seems to have no repair or parts replacement capability, except for print head replacement. Epson seems to have paper feed and quality control issues; and I expect QC will improve as they get more manufacturing experience with this new offering. I can live with misfeeds, expecting these too will improve with product maturity.
Canon’s lack of repair and replacement parts seems to be a fatal flaw, particularly as the printer is an earning asset in my small business.
It’s a conundrum for sure, Paul. If I were in a production environment, I would go for the Canon over the Epson right now (or choose the P5000, which is built for a production environment). I do think the print quality is comparable, but if I were trying to feed a lot of sheets each day, I think the P900 would be an exercise in frustration for you, although it also depends upon the media being used.
Later this year, I’ll most likely purchase another P900 (or a P700), to see if I can can discern any real change in the feed mechanism. The firmware updates keep coming, which tells me that Epson is trying some things.
Rick
(sorry for the late reply; I’ve been on the road)
Rick, did you purchase another P900? I’m curious if the paper feed has improved with new software updates.
Michael,
I haven’t purchased a new 700 or 900; there haven’t been any indications of a fix/change in the mechanism. I have spoken with numerous 700/900 owners in the past few months, however, and it seems that most people have issues loading multiple sheets of paper, but few issues where paper won’t load (although a couple have said that they need to be near the printer, to help paper feed from the rear feed).
It’s quite frustrating, but I’ve learned to live with it. I’m working on a state of the market piece, and as much as I wince every time I power it up, it is the printer I go to when I want the best prints.
Rick
Hello Rick, great review and going through!
I had the P900, bought it jan 1 2023, but it sat in its box until june 2023. It simply would not take thick art paper (canson arches 310gsm) in the top feed and the front feed was broken. Thinner paper like Epson Watercolor (188gsm) it could take, but if i loaded say 5 sheets it would on the third print pick up 2 papers at the same time, and one time this jammed my printhead so that i had to do a print head alignment.
Epson sent a technician out and he exclaimed “this bloody printer again!” as soon as he saw it, and informed me that Epson UK hated it. He said “I´ll either get you your money back or Ill get you a new one”. I opted for money back, and chose to use that money on a Canon Pro 1000.
BUT I failed to notice that the Canon only prints media up to 0.7mm thick, and I was planning on doing prints on posterboard, thick 600gsm watercolor paper, artist canvas etc. Now I also learn that the printhead needs to be replaced very 2-3 years, and with that an additional cost of about $100 in inks to fill it up again. The Canon uses thermal tech in the printhead, and the Epson used cold printing, and Epson deem the printhead to not be a “consumable” and will not have to be changed for the printers lifetime. Info I got from Keith Cooper. IT is also by all accounts a real ink hog, and need so be babysat every day with a printout. this was not the case with the P900, the inks seemed to last forever and there wasn’t much maintenance required.
The Epson P900 has been out of stock here for a long time, and they are just now returning to the online stores. I was thinking it might have something to do with the possible improvements on the feeder mechanisms, its by far biggest critique online.
Can you explain a bit more about how you heard of this possible improvement of the feed mechanism? was it a mechanical improvement they made, and do the new machines coming out now have this? Are there any resources for this info?
I wish here was a way of checking manufacturing dates on these things.
Thank you!